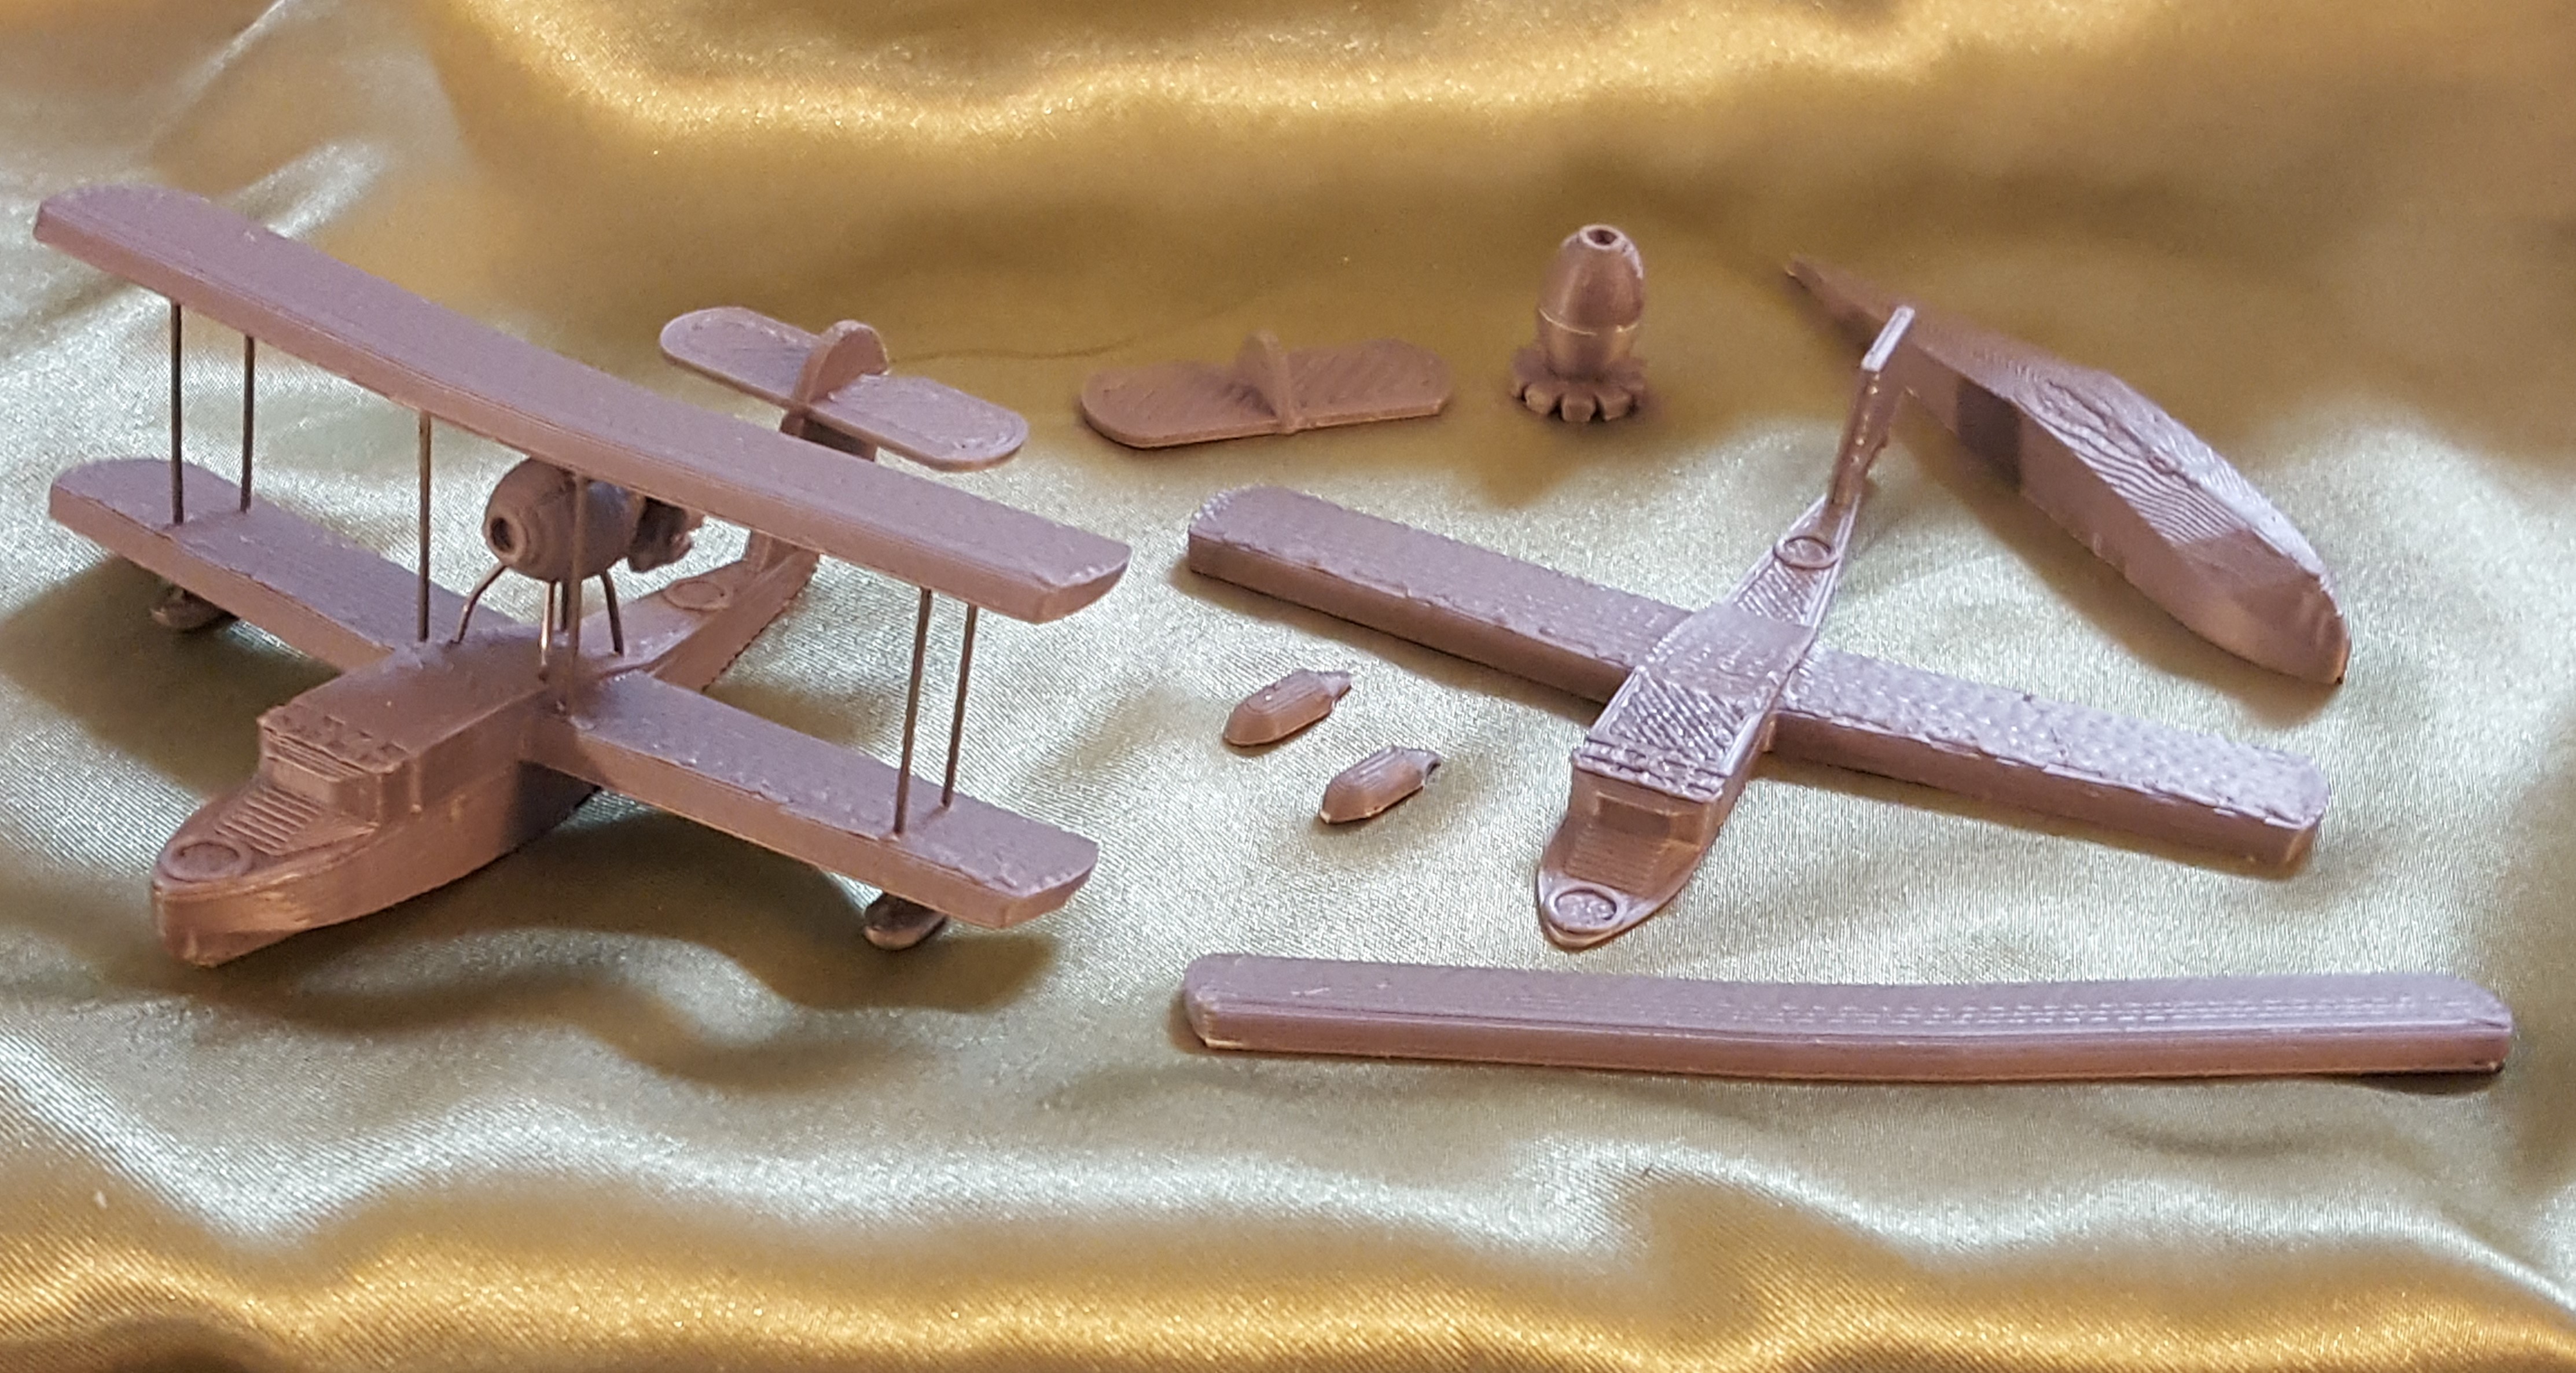
Supermarine Walrus Assembly Page!
The Supermarine Walrus kit comes as shown at right and will requires assembly (and painting). Useful tools necessary will be:
|
|
| First Drill the Wings! | |
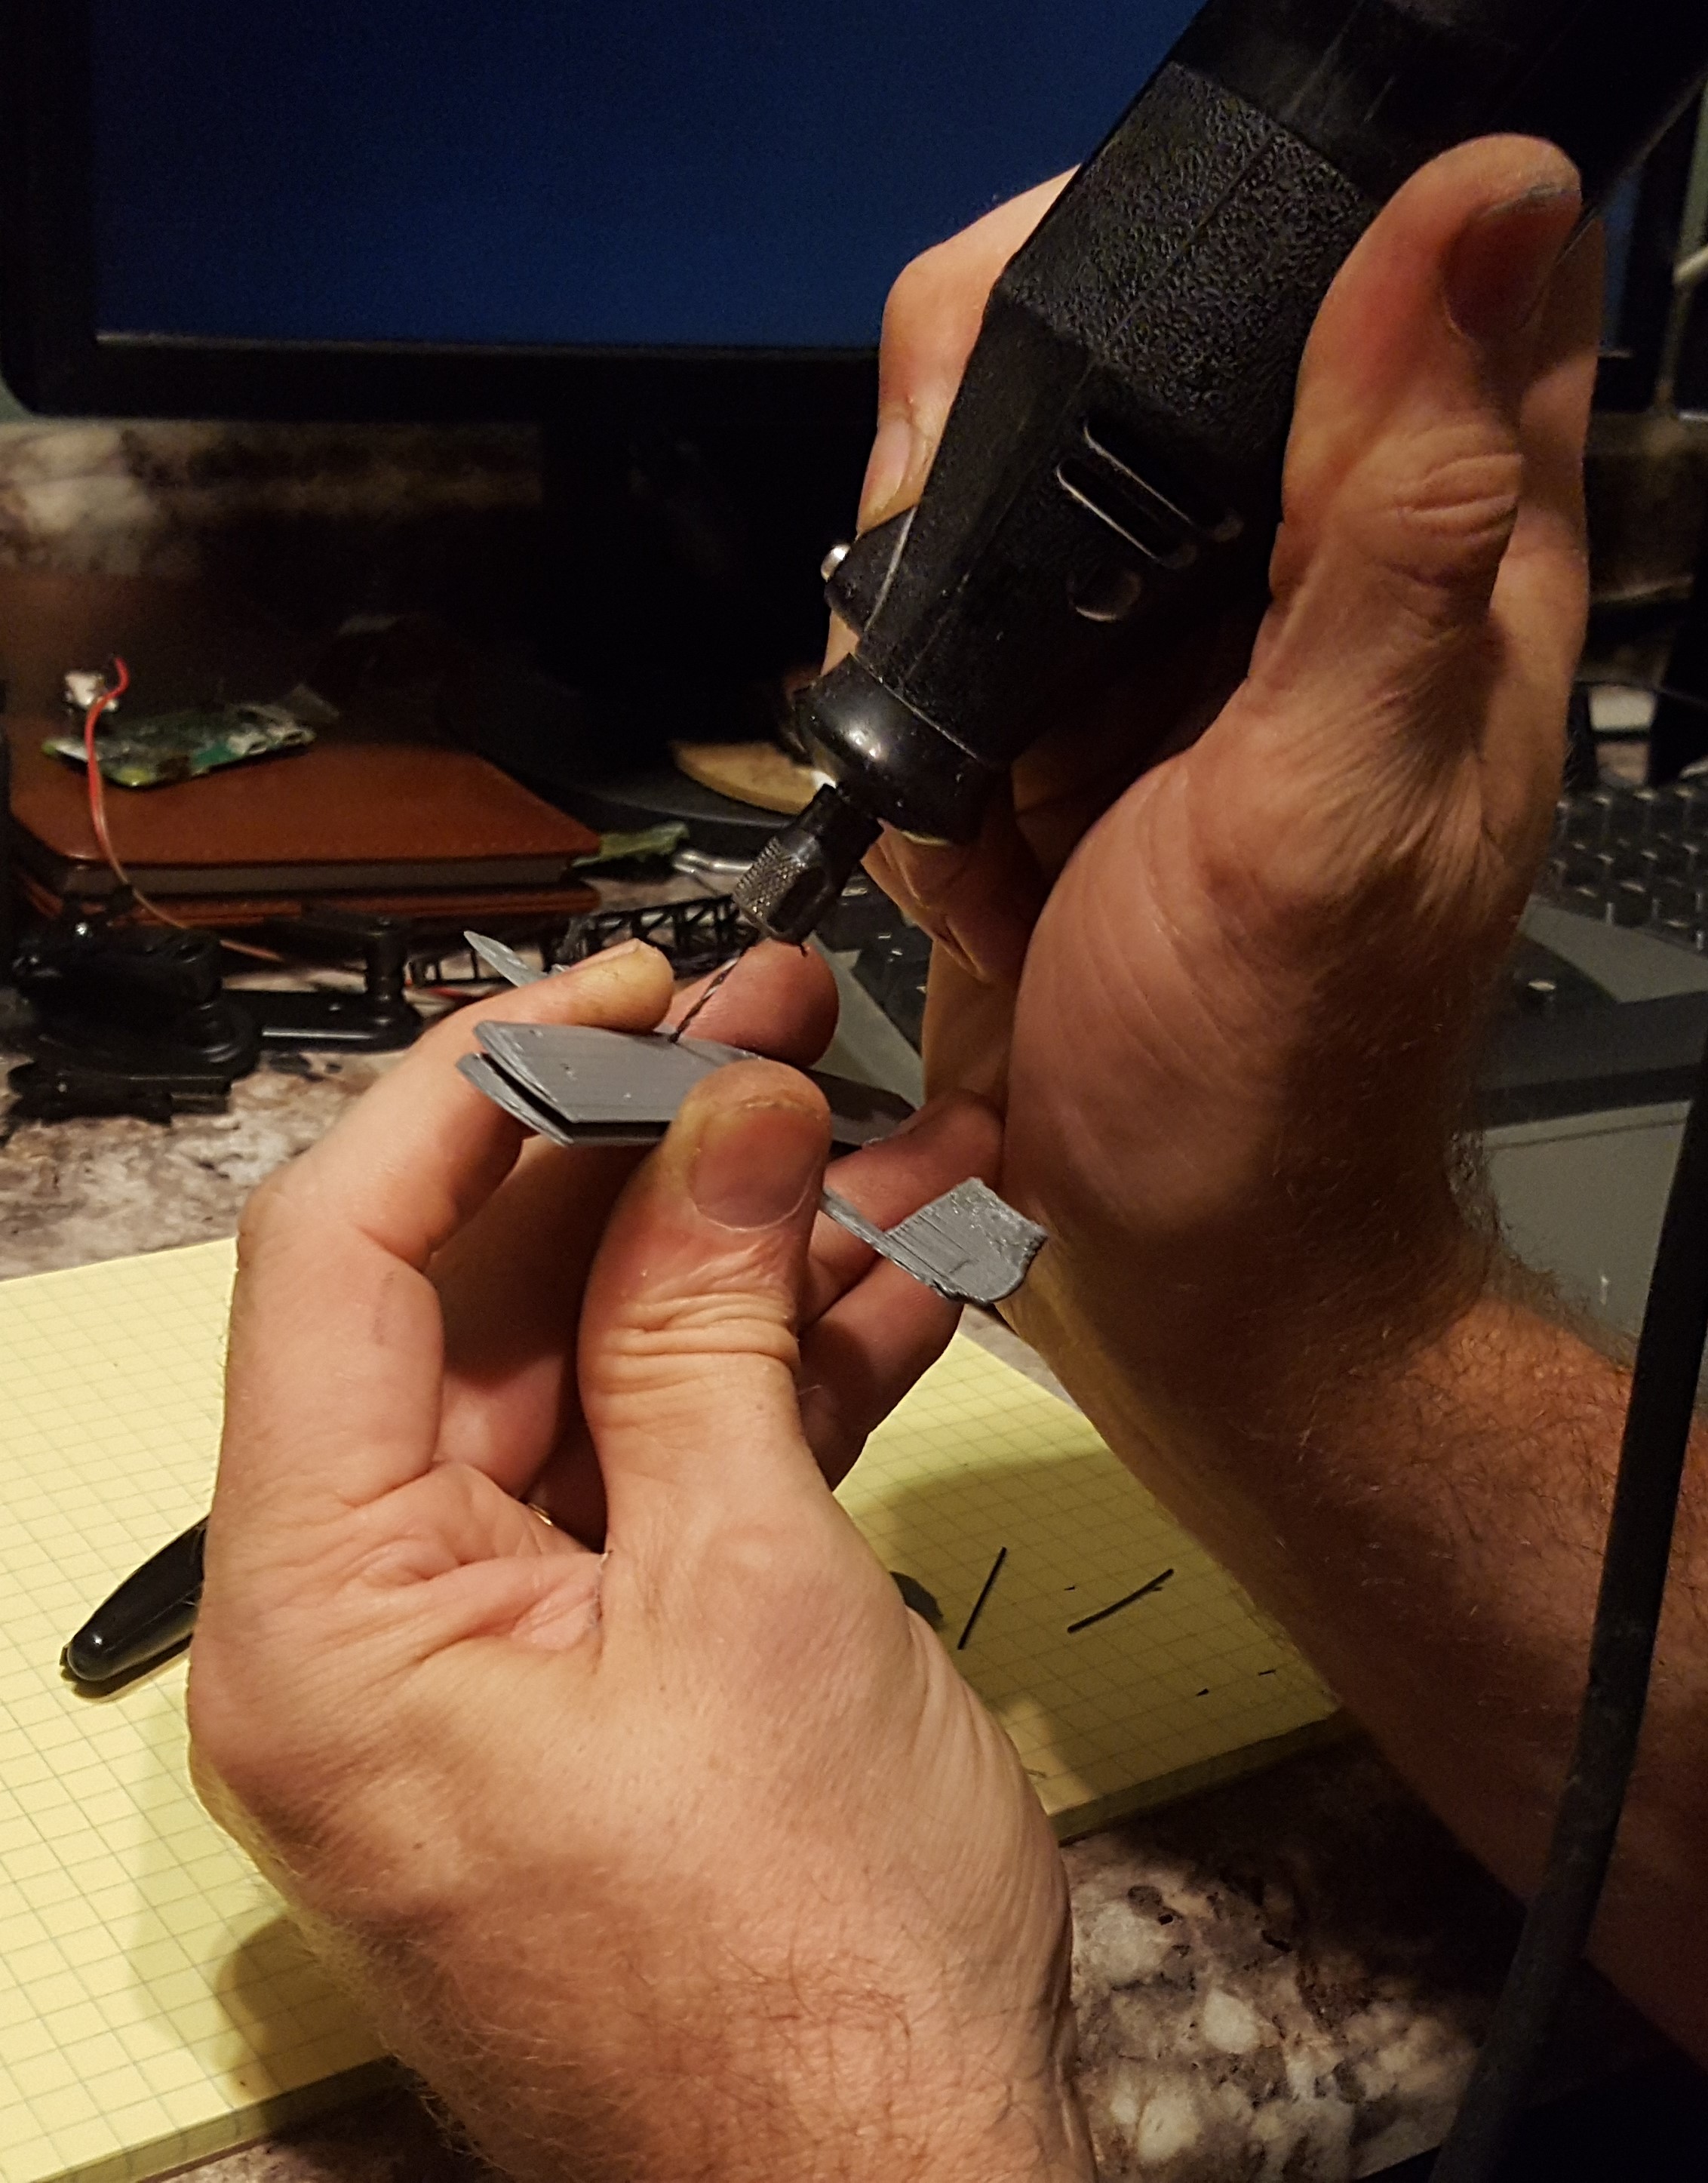 |
To make sure the holes align when pushing the wing struts through, it is best to drill through both the upper and lower wings simultaneously (see left). When finished both wings should have identical set of six holes (see pattern in photo below): 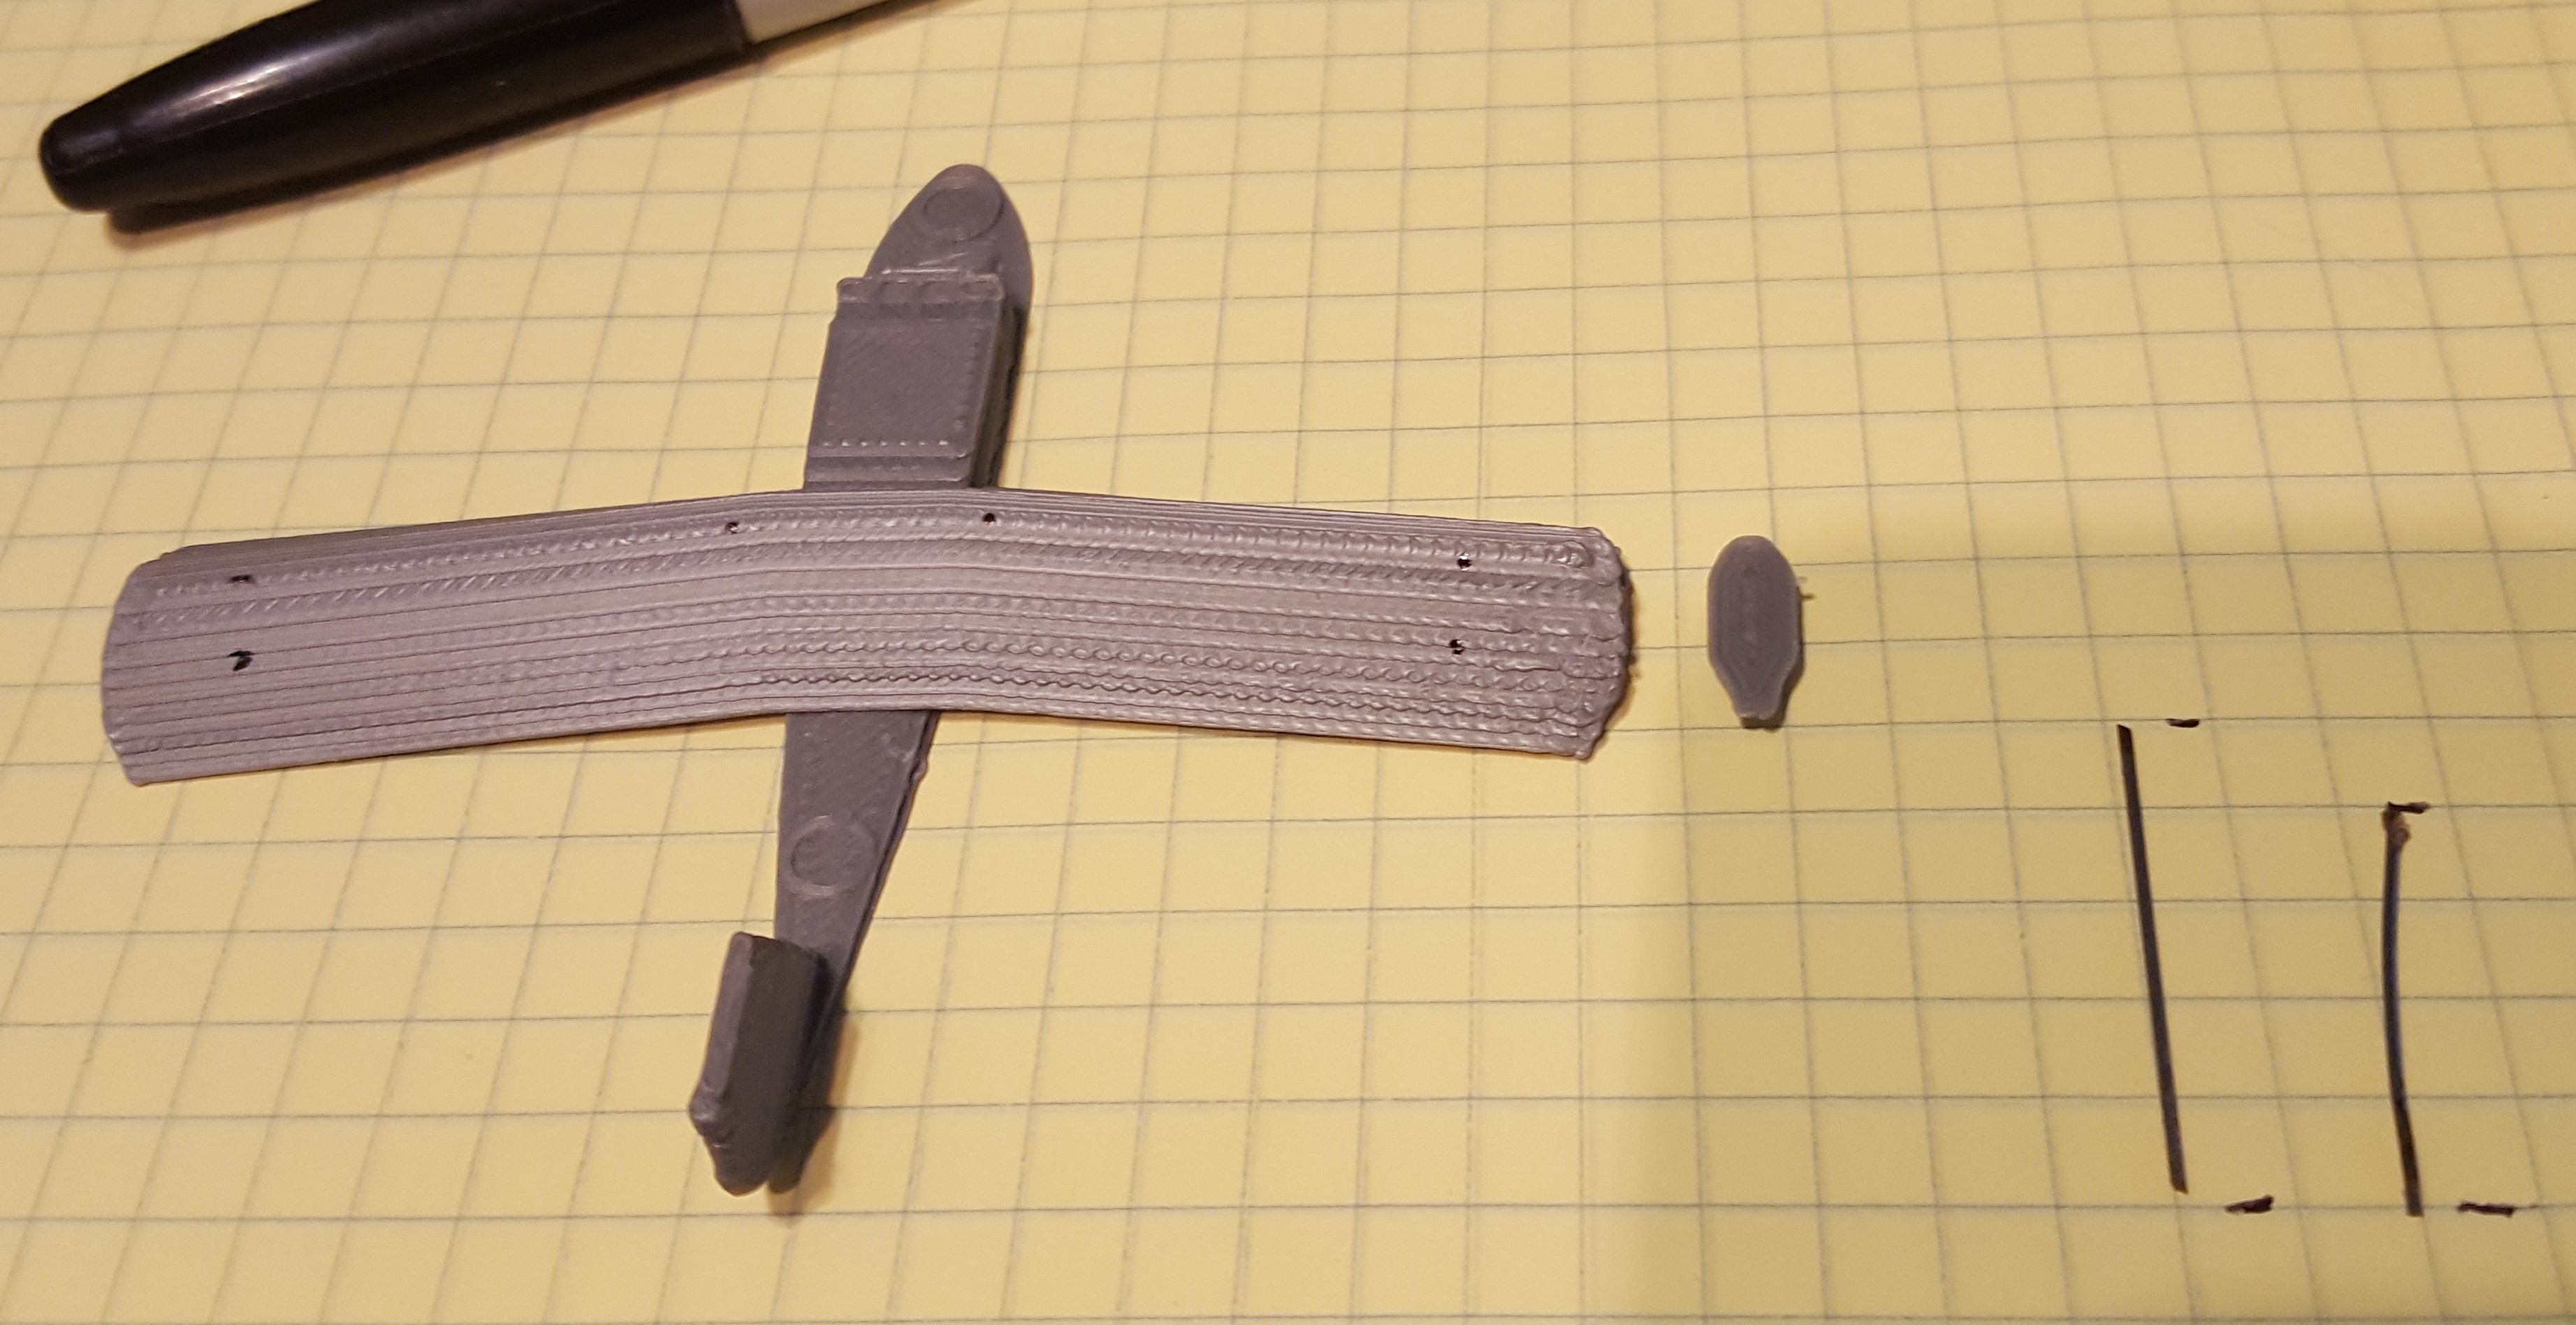 Note how close the outer two holes on each end of the wing are. They need to be close enough for the struts that run through them to poke nito the center of the wing pontoons (at right in photo) as those will be glued onto the ends that poke out underneath the wing.
|
| Assemble the Main Body | |
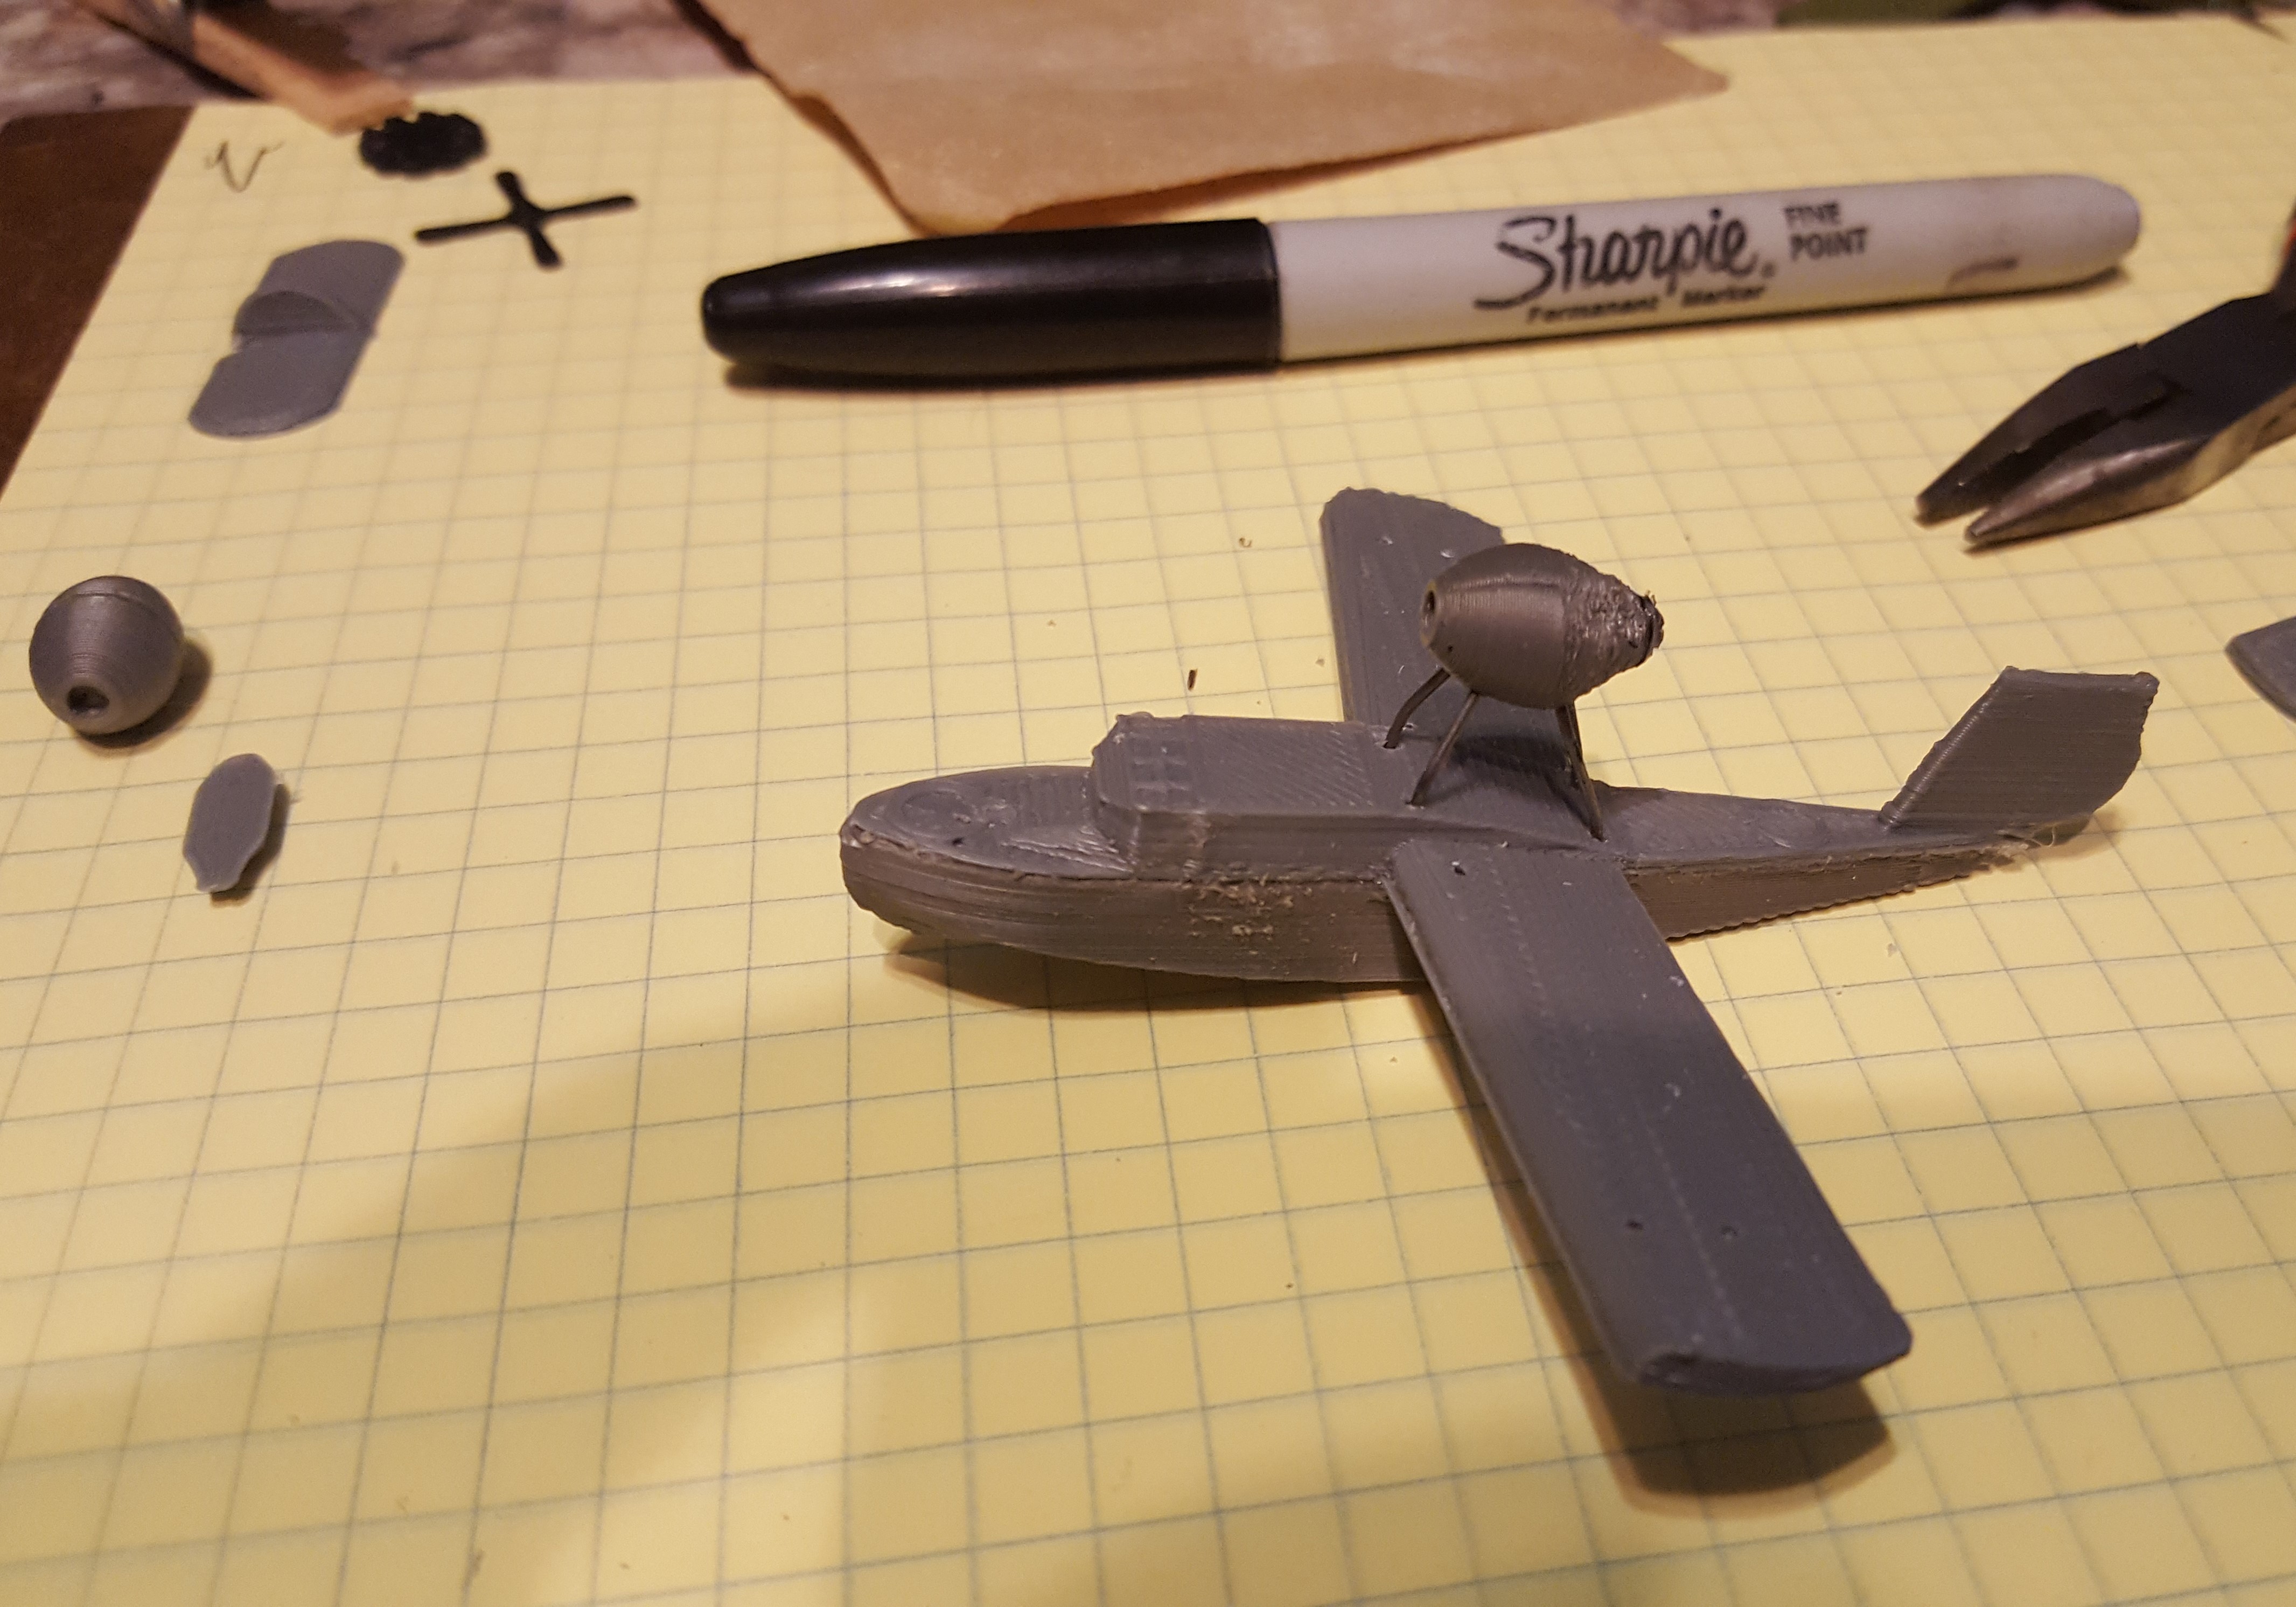 |
Use sandpaper to roughen the smooth surface under the main body and on top of fuselage (gives glue better surface to stick), then apply CA glue or a thin layer of GOOP and press the two pieces together. Do the same to join the two pieces of the engine together.
The engine pod may be mounted to the main body by drilling 4 small holes into the top of the fuselage amd inserting short pieces of piano wire into each, then bending these until they align with 4 small holes drilled into the bottom of the engine pod (as shown at photo at left). Alternatively for simple battle-scale functionality a single short rod may be drilled straight donw into top of fuselage and the engine pod mounted directly atop it.
|
| Attach the Upper Wing on Struts | |
| Flip the top wing upside down and insert four longer (1 1/4") pieces of piano wire struts into the four holes near the wing tip, and two shorter (1") pieces into the two holes closer to the fuselage. Then flip the top wing back over, align the wire struts with the holes in main body wing, and carefully work the struts through the body until the two inner struts adjacent to the fuselage just reach all the way through the wing (the longer outer struts should be poking ~1/4" out the bottom of the wing) 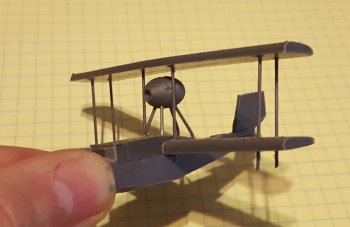
|
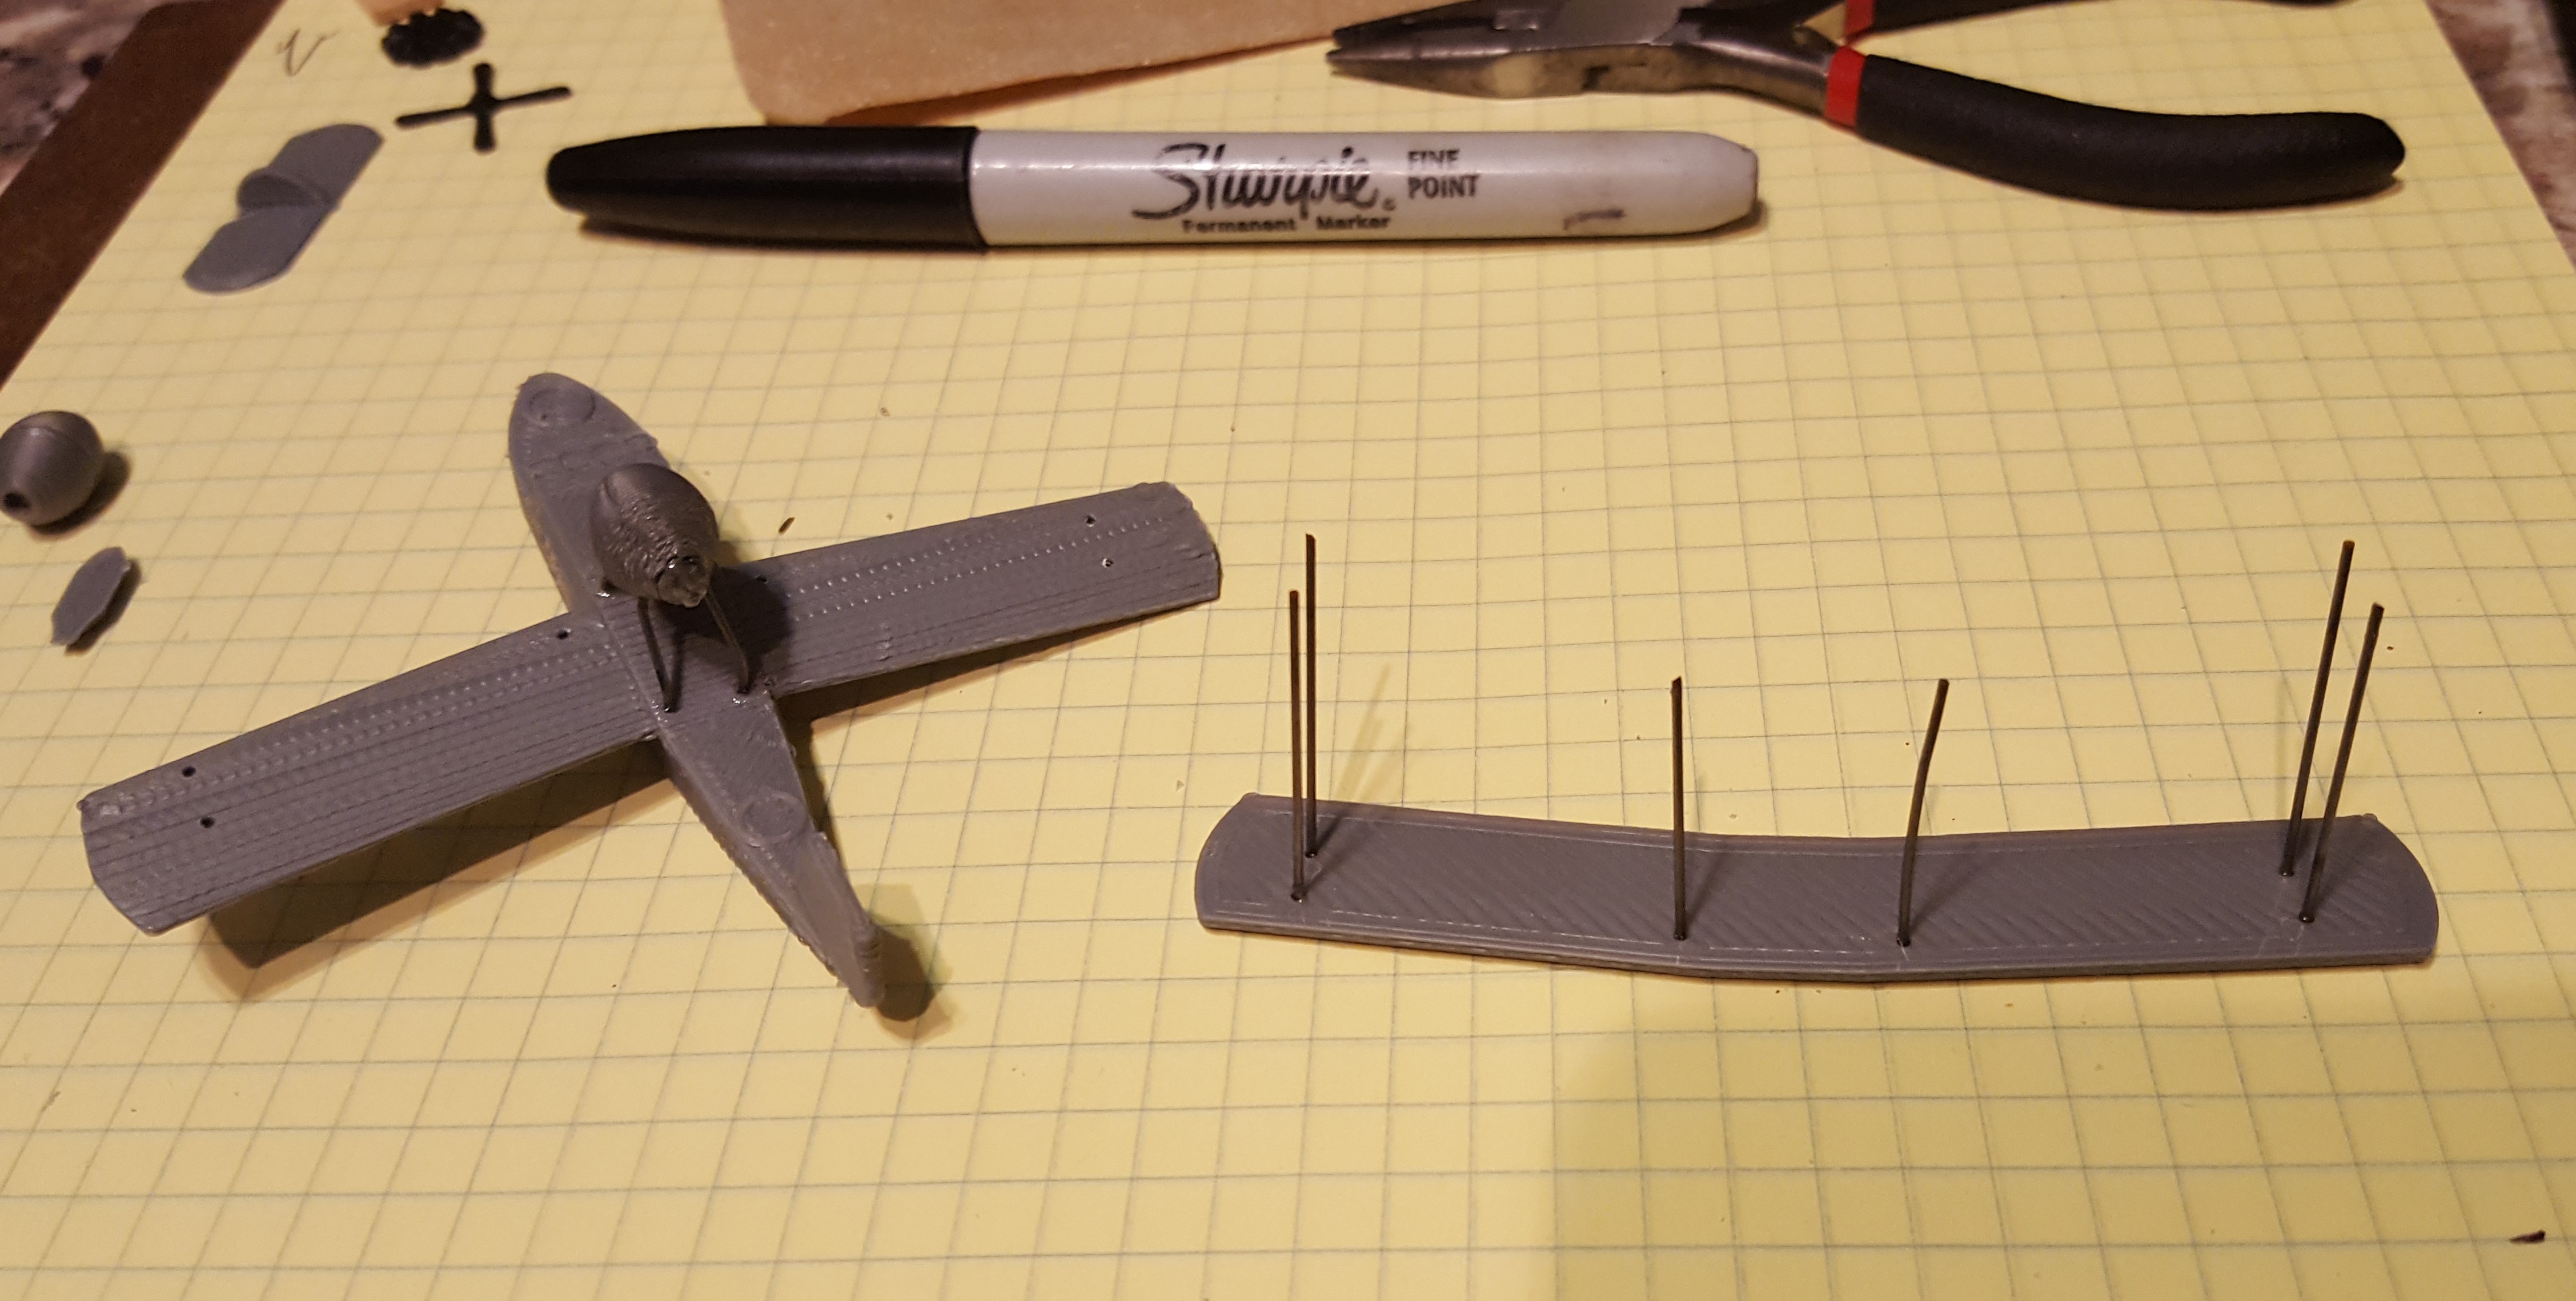 |
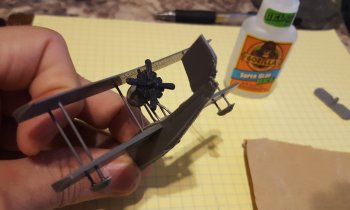
| Mount the Wing Pontoons | |
Hold each pontoon up to the struts poking out the bottom of the wing and mark where the struts need to poke into the pontoon, then drill a small hole in the center of each mark (or all the way through, you can always cut off extra that pokes through the pontoon later)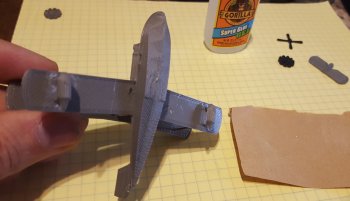 --Be sure to put a small drop on each strut where they go through the wings so it can wick up inside and hold the struts firmly-- |
 |
| Attach the Propeler and Rudder | |
| Glue the engine rotary cylinders and the prop to the back of the engine pod... | |
|
...and then sand flat the top of the rudder portion of the fuselage. 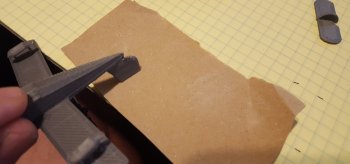 Glue the ailerons on top of the rudder with another drop of glue... |
| And DONE! | |
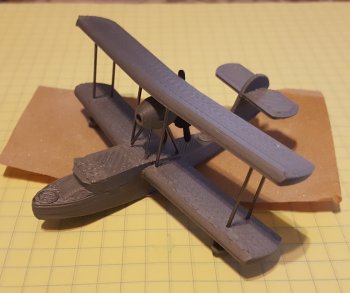 |
but of course, a little paint can "spruce" up your Walrus however you like! 
|